The guide below tries to explains how to easily install Mac OS X Yosemite 10.10 in a virtual machine using VirtualBox. It's based on this pastebin which I found via Google, adjusted to work with Yosemite.
Legal disclaimer: Make sure to perform the following steps on a regularly purchased Apple computer, running a genuine OS X (host) operating system.
How-to
Preparation
Download OS X Yosemite from the Mac App Store and open the Terminal.app to install iesd, a Ruby tool to customize OS X Install ESD's:
sudo gem install iesd
Customize InstallESD
Before we can use the vanilla Yosemite Installer in VirtualBox, we have to customize the InstallESD using iesd first as well as convert it into a sparse image (UDSP format):
iesd -i "/Applications/Install OS X Yosemite.app" -o yosemite.dmg -t BaseSystem
hdiutil convert yosemite.dmg -format UDSP -o yosemite.sparseimage
Now we need to mount both the original InstallESD and the customized sparse image that we just generated ...
hdiutil mount "/Applications/Install OS X Yosemite.app/Contents/SharedSupport/InstallESD.dmg"
hdiutil mount yosemite.sparseimage
... to copy the missing original base system files back into the customized InstallESD:
cp "/Volumes/OS X Install ESD/BaseSystem."* "/Volumes/OS X Base System/"
Unmount both the InstallESD and the sparse image:
hdiutil unmount "/Volumes/OS X Install ESD/"
hdiutil unmount "/Volumes/OS X Base System/"
As well as the mounted disks via diskutil and your Terminal:
diskutil unmountDisk $(diskutil list | grep "OS X Base System" -B 4 | head -1)
diskutil unmountDisk $(diskutil list | grep "OS X Install ESD" -B 4 | head -1)
Note: If that doesn't work and you get a "resource busy" message in step 12, try using the Disk Utility.app:
Finally we can convert it back into a .dmg file (UDZO format):
hdiutil convert yosemite.sparseimage -format UDZO -o yosemitefixed.dmg
Installation in VirtualBox
Open VirtualBox, insert the customized yosemitefixed.dmg in the CD-ROM drive of your guest system and make sure to adjust the chipset to "PIIX3".
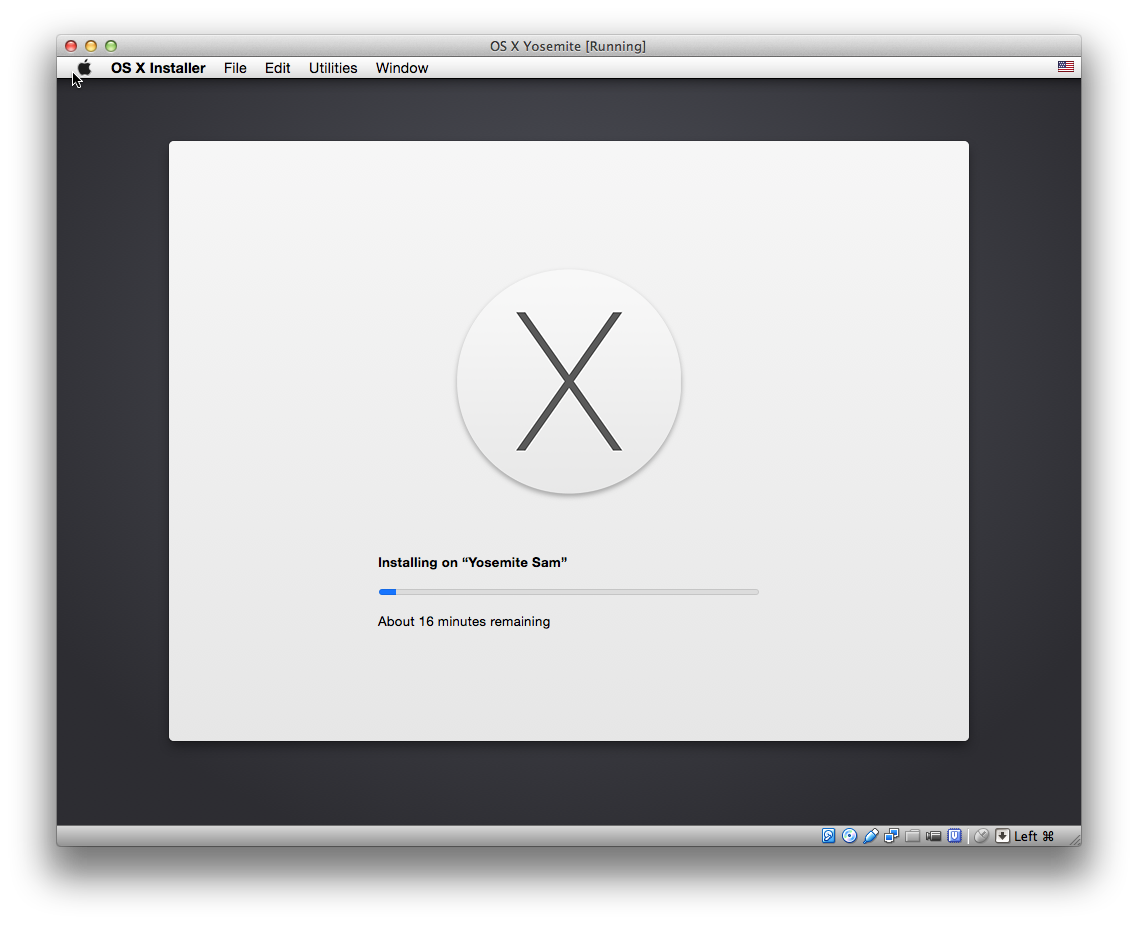
Now you can start up your VM, open the Disk Utility.app within the installer and create a new HFS+ partition to install a fresh copy of Yosemite.
FAQ
Here are some of the frequently asked questions from the comments. In case you encounter any issues or problems, check below to find a solution.
Error message: "Kernel driver not installed (rc=-1908)"
Try to reinstall VirtualBox to fix this error.
Stuck on boot: "Missing Bluetooth Controller Transport"
Try the following steps to fix this issue:
- Stop the virtual machine in VirtualBox.
- Open a new terminal window.
- Run the following command to adjust the guest CPU (don't forget to replace
[your_VM_name>]with your actual VM name):VBoxManage modifyvm '[your_VM_name>]' --cpuidset 1 000206a7 02100800 1fbae3bf bfebfbff
Adjust screen resolution
To control the GOP (Graphics Output Protocol), use the following Terminal command:
VBoxManage setextradata '[your_VM_name>]' VBoxInternal2/EfiGopMode [n]Where
[n]can be 0, 1, 2, 3, 4 or 5 referring to640x480,800x600,1024x768,1280x1024,1440x900or1920x1200screen resolution respectively.

Comments